RUNOS Installation Guide
Minimal System Requirements
- RAM: 2Gb
- HDD: 8Gb
- Operating System: Ubuntu 18.04 and higher
- Browser: Google Chrome
RUNOS Installation from Source
Install Dependencies
Install curl and Nix package manager:
sudo apt-get install curl
curl https://nixos.org/nix/install | sh
Install Redis in-memory data store:
sudo apt install redis-server
Install nginx server:
sudo apt install nginx
Build RUNOS from Source
Getting sources:
git clone https://github.com/ARCCN/runos.git
Run nix-shell inside runos directory to build dependencies:
cd runos
nix-shell
Create build directory, run cmake and make:
mkdir build
cd build
cmake ..
make
cd ..
Install Application from Source
Go to the apps folder:
cd /runos/src/apps
Getting application sources:
git clone http://<application repository path>/app.git
If it is necessary, edit application’s configuration file (settings.json) inside application directory.
Run nix-shell inside runos directory:
cd ../..
nix-shell
Rebuild RUNOS with application inside build directory:
cd build
cmake ..
make
cd ..
Start RUNOS
Start RUNOS with default RUNOS settings file (runos-settings.json):
./build/runos
Start RUNOS with your settings file (your_runos_settings.json):
./build/runos -c /path_to_file/your_runos_settings.json
RUNOS Web UI Configuring
Configure nginx server (edit nginx.conf) using vim editor:
sudo vim /etc/nginx/nginx.conf
Add the following text about server into http section of nginx.conf file (you need add your absolute path to the runos build directory):
http {
        server {
                listen 8080;
                root <...absolute/path/to/runos/build/directory...>/web;
                location ~*\.(html|css|js)$ {}
                location /images {}
                location / {
                        proxy_pass http://localhost:8000;
                }
        }
}
Restart nginx server:
sudo service nginx restart
Start RUNOS Web UI in your browser:
http://$CONTROLLER_IP:8080/topology.html
Installation with Virtual Machine Image
- Download RUNOS Virual Machine.
- Download and install last version of Virtual Box.
- Start Virtual Box and then export RUNOS-2.0-VM: “File -> Export Configuration”.
- Add and configure NAT Network of Virtual Box: File - > Preferences -> Network -> Create NAT Network

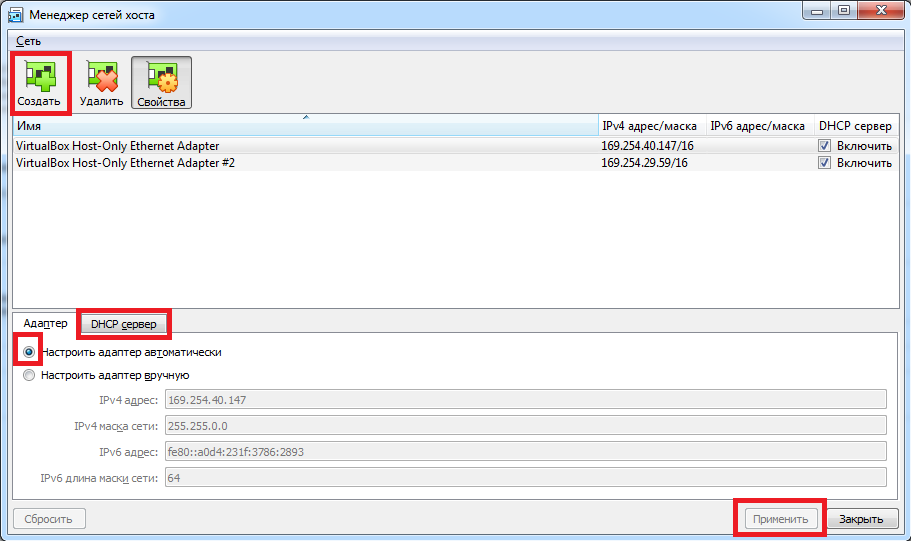
- Add and configure Virtual Host Adapter of Virtual Box: File -> Host Network Manager. And then configure and start DHCP server.
- Start RUNOS virtual machine.
RUNOS is located in the folder: /home/runos/runos.
Test RUNOS Using Mininet
Install Mininet network emulator:
git clone git://github.com/mininet/mininet
cd mininet
sudo ./util/install.sh -nfv
cd ..
Start RUNOS controller:
cd runos
nix-shell
./build/runos
Start a simple network topology in Mininet (4 switches and 4 hosts):
sudo mn --topo linear,4 --switch ovsk,protocols=OpenFlow13 --controller remote,ip=127.0.0.1,port=6653
Start RUNOS Web UI, open the following link in your browser: